We all know that a freshly painted room makes all the difference. Not only does it freshen things up, but it makes the space look bigger and brand-new. It’s such a rewarding little tweak to a home, but it doesn’t come without its challenges.
Those awkward crevices in a house – behind the radiator, around the ceiling light, behind the toilet – can be really hard to reach with a paintbrush. DIY challenges like this have become increasingly popular since lockdown. When you can buy all tools from one place (paint rollers, paintbrushes and, of course, paint, you can all get from B&Q!) it’s an easy and affordable way to jazz up your home.
We’re going to share our words of wisdom with you and give all the tips n tricks on how to make your painting DIY run just that little bit more smoothly.
Obstacle No. 1 – That darn ceiling light!
As you’ll know, ceiling lights often live in rooms and hallways. They have ceiling-mounted light fixtures which make it super difficult to make a good job of painting around. A simple way of getting around this is to unscrew and lower the fixture’s canopy. If wires get exposed, use common sense and switch of the home’s electric supply. You don’t want to be electrocuting yourself. We don’t want any comic-like skeletons holding a screwdriver to a lightbulb – Halloween is next month. After you’ve protected the fixture with a plastic sheet, you can go ahead and start painting without having to worry about paint splatters. We recommend using a paint roller with an adjustable extension pole to paint the rest of the ceiling – makes the job a lot quicker and all-around easier. Once the paint is dry, you can fix everything back into its place, step back, and admire your handy work.

Obstacle No. 2 – Narrow Space
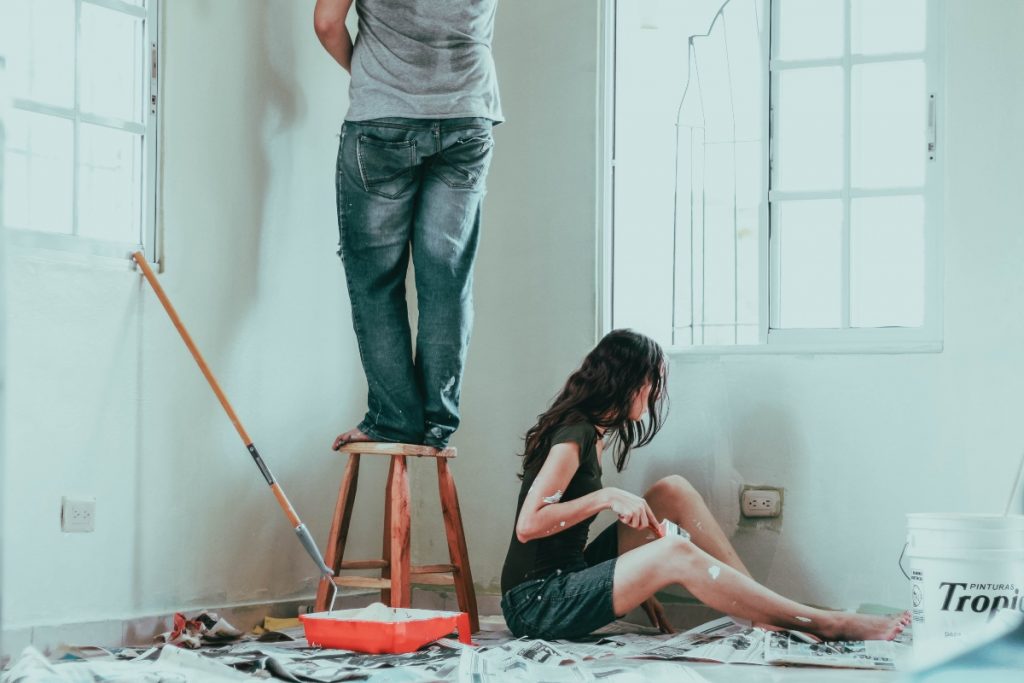
Narrow space. A painter’s arch nemesis. If the narrow spaces you’re working with only offer a few inches for your paintbrush, it’s a nightmare to get the perfect results. But don’t you worry, we’ve discovered the existence of a nifty product called a paint-behind pad. It does exactly what it says on the tin. It consists of a paint pad attached to a long plastic handle. You have to dip the pad into the paint tray and slot it behind the object and spread the paint on the wall. You can easily spread paint onto the entire wall behind. It’s great for painting behind radiators and other hard to reach spots.
It’s easy to paint around windows and doors until you get to that awkward space above it. A standard paint roller will do 80% of the job, but is that really enough? Many DIYers use short up and down strokes on a standard roller but this leaves behind vertical paint lines where strokes overlap. In this case you can use a trim roller. When the paint dries the texture on the walls are consistent throughout the room and match the other walls’ texture. Perfect painting all around!
Painter tape? More like painter’s MATE
We know, we know. Awful dad joke. But painter’s tape is your best friend when DIYing, really. Peel of a length of tape, stick onto your carpet, allowing overlap onto the baseboard – do this around the whole room – and once it’s in position, you’re ready to paint your baseboard! Wait for the paint to dry and peel the paint and voila! A neat, mess-free paint job.
If you’re all fingers and thumbs and don’t want to risk splattering paint across your home, leave it to the professionals! Call up local specialist decorating firm, Rigby & Legge for a clean, proficient and skilfully done job.
If you’re on the lookout for your next property, contact Carman Friend today to hear all about what we have to offer.
